
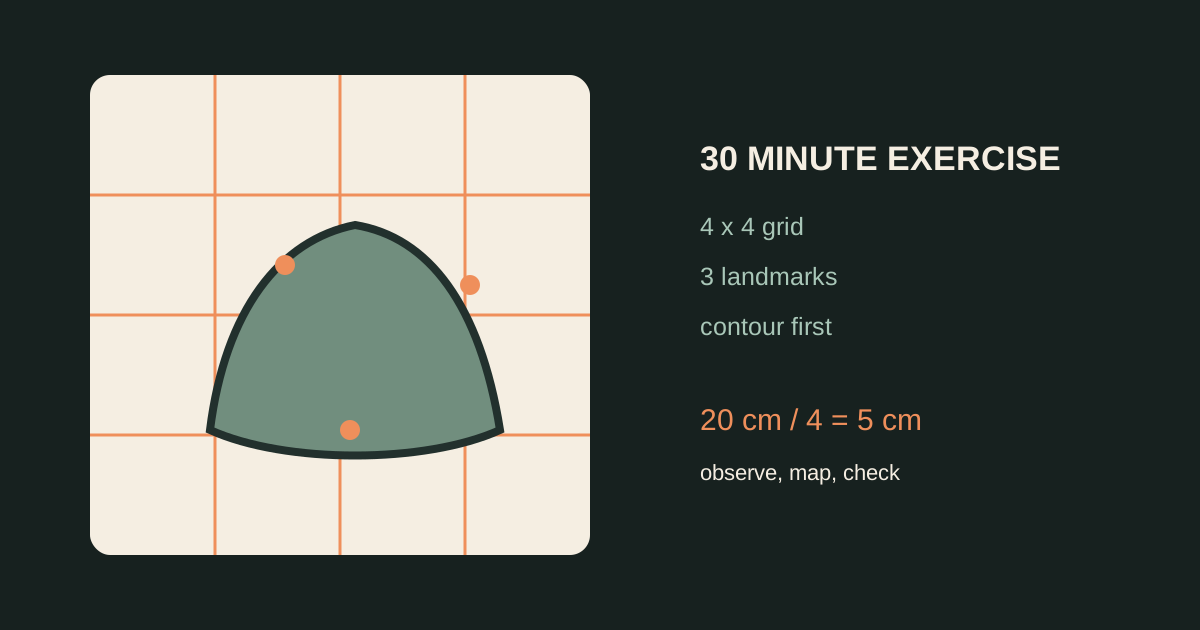
The grid method is most useful when it gives a beginner a small decision to make instead of asking for a perfect drawing all at once. This 30-minute exercise uses a simple reference, a 4x4 grid, and three checkpoints. It is designed to train observation, not tracing speed.
Choose a reference that can be checked
Pick one object with a clear silhouette, such as a mug, shoe, leaf, or simple portrait crop. Avoid a busy group photo. The reference should have one obvious light direction and enough empty background to see the outer contour.
Use a photo that is 4:3 or 1:1 and keep the same ratio on the drawing paper. The grid cannot correct a reference that was stretched before you started.
The 30-minute exercise
Minutes 0-5: observe before drawing
Look for three landmarks: the highest point, the lowest point, and one strong turning point on the contour. Write their approximate cell coordinates. For example, the top of a mug may be near B1, the base near C4, and the handle crossing near D2.
Minutes 5-10: draw the 4x4 grid
Use light lines and label the rows and columns. If the paper is 20 cm wide and you use four columns, each cell is 5 cm wide:
20 / 4 = 5 cmThe exact size is less important than keeping all four columns equal.
Minutes 10-20: map the contour
Work cell by cell. In each square, ignore the name of the object and look for abstract shapes: a curve that enters from the top, a triangle of background, or a shadow touching the right edge. Mark where the contour crosses each cell boundary before adding interior detail.
Minutes 20-25: add the major value shapes
Squint at the reference or switch it to grayscale. Place only the largest light, middle, and dark areas. If the silhouette is wrong, do not spend this time rendering texture.
Minutes 25-30: check from a distance
Cover the grid with a clean sheet or step back. Check the three landmarks again and compare the negative space around the object. If the subject looks wrong but the cells are accurate, the issue is probably a missed boundary point, not a lack of shading skill.
How to practice without becoming dependent
Repeat the same reference once without the grid. Then use the grid again on a different reference with a similar subject. Gradually reduce the density from 4x4 to a few guide points. The goal is to internalize proportion checks, not to leave a grid on every drawing forever.
Common beginner mistakes
- Choosing a reference with too many objects.
- Drawing the object from memory instead of observing the cell.
- Making the grid darker than the subject.
- Detailing one cell while the overall silhouette is still unverified.
- Changing the paper ratio after the grid is already drawn.
Next exercises
- Read What is grid drawing? for the basic observation principles.
- Try portrait drawing with the grid method after the contour exercise.
- Use Grid Maker to compare a 4x4 reference with a denser version.
A good first grid drawing is not the one with the most detail. It is the one where you can explain why each major shape sits where it does.