
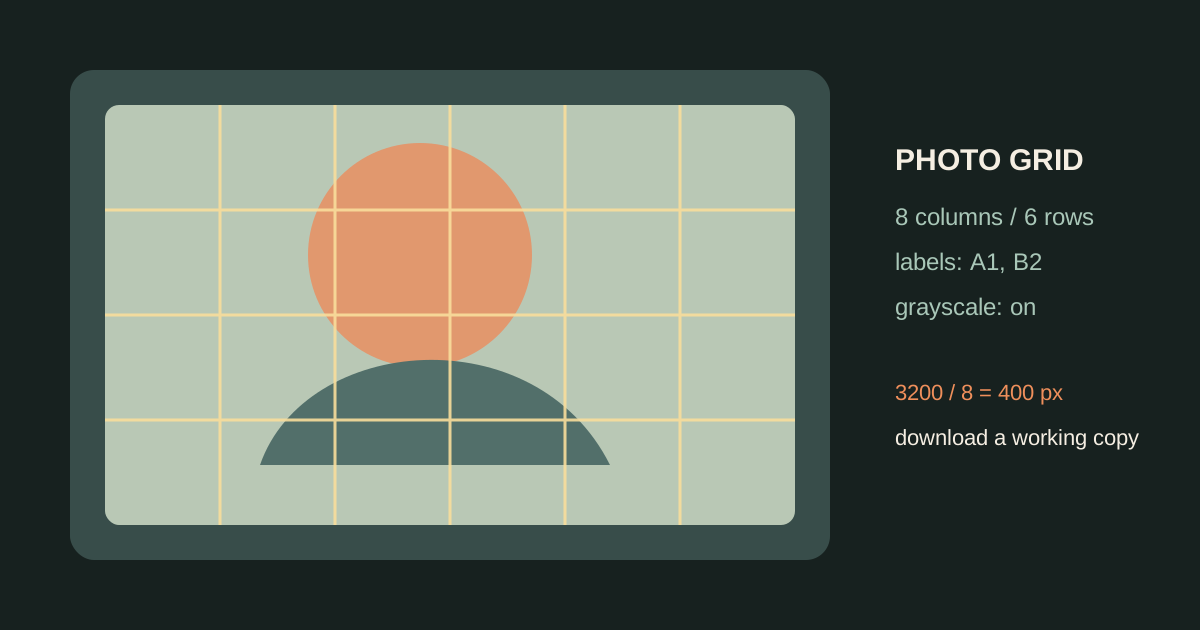
Adding a grid to a photo is useful when you want a measured reference without drawing lines across the original print. The practical workflow is simple: upload the reference, choose a cell count that matches the subject, check the image ratio, and export a copy with the grid. The settings matter more than the button you press.
Start with the unedited reference
Use the clearest version of the image you have. Avoid taking a screenshot of a compressed social post, because blurred edges make it harder to judge where a contour crosses a grid line. Crop only after deciding what part of the subject must remain visible.
Grid Maker processes the uploaded image in the browser. The image is not sent to the server, which makes the workflow suitable for private studies, client references, and unfinished artwork. You still need permission to use a photo you do not own.
A precise online grid workflow
1. Upload the photo
JPG, PNG, GIF, and WebP references work well. If the image is very large, keep the original ratio and let the tool fit it inside the preview rather than stretching it to a square.
2. Set rows and columns
Start with 5 columns for a simple object, 6x8 for a portrait, or 8x6 for a landscape. The first number is not automatically the width: decide whether your drawing needs more vertical or horizontal landmarks.
3. Turn on labels when transferring details
Labels such as A1 and B2 turn a vague instruction into a coordinate. You can write “the dark edge starts in D5” in your notes and find the same cell on your paper. Turn labels off for a clean print if they distract from the reference.
4. Use grayscale for value studies
Color can hide whether a shape is light, middle, or dark. Switch to grayscale when your next step is shading or when you are comparing the value pattern between the reference and drawing. Keep the color version if hue is part of the final study.
5. Check the cell math
Suppose the usable image width is 3200 pixels and you choose 8 columns:
3200 / 8 = 400 pixels per columnIf the image is 2400 pixels high and you choose 6 rows, the cells are also 400 pixels high. That is a 1:1 grid. If the numbers do not match, use a rectangular grid or crop deliberately; do not stretch the reference to force square cells.
6. Download a working copy
Keep the original photo separate from the gridded export. Use the gridded copy for printing and the original for checking the final drawing. This prevents a second round of edits from accidentally changing the reference.
Three settings that prevent bad transfers
- Line opacity: lower it when the reference has a light subject or when the grid will be printed.
- Line width: use a thin line for detailed portraits and a heavier line only when the image is visually busy.
- Paper format: choose the paper you will draw on so the printed cell interval has a physical meaning.
When a grid is the wrong tool
A grid cannot fix a badly chosen crop, a moving subject, or a reference with no readable shadow structure. For architecture, first identify the horizon and major perspective lines. For portraits, place the head shape and feature landmarks before chasing small details.
Related tutorials
- Choose the right drawing grid size instead of using the same density for every photo.
- Use a printable drawing grid on A4 or A3 paper.
- Learn the grid method for portrait drawing after preparing the reference.
The best online photo grid is the one that makes the next drawing decision clearer: where a shape crosses a boundary, how dark a cell should be, and which coordinate needs checking.