
Printing a drawing grid is useful when the reference image and your paper need to match at the same time. The mistake most people make is choosing a grid count first and checking the paper later. A reliable printable grid starts with the paper dimensions, the image ratio, and the number of columns you can actually draw.
Decide what the print needs to do
There are two different jobs:
- Reference grid: print a photo with lines so you can copy one cell at a time.
- Transfer grid: print or draw a grid whose cell size can be measured on a larger surface.
For a study in a sketchbook, a 5x5 or 6x8 grid is usually easier to read than a dense 20x20 grid. For a detailed portrait, add cells only when a feature crosses a large cell boundary and becomes difficult to place.
Calculate the printable cell size
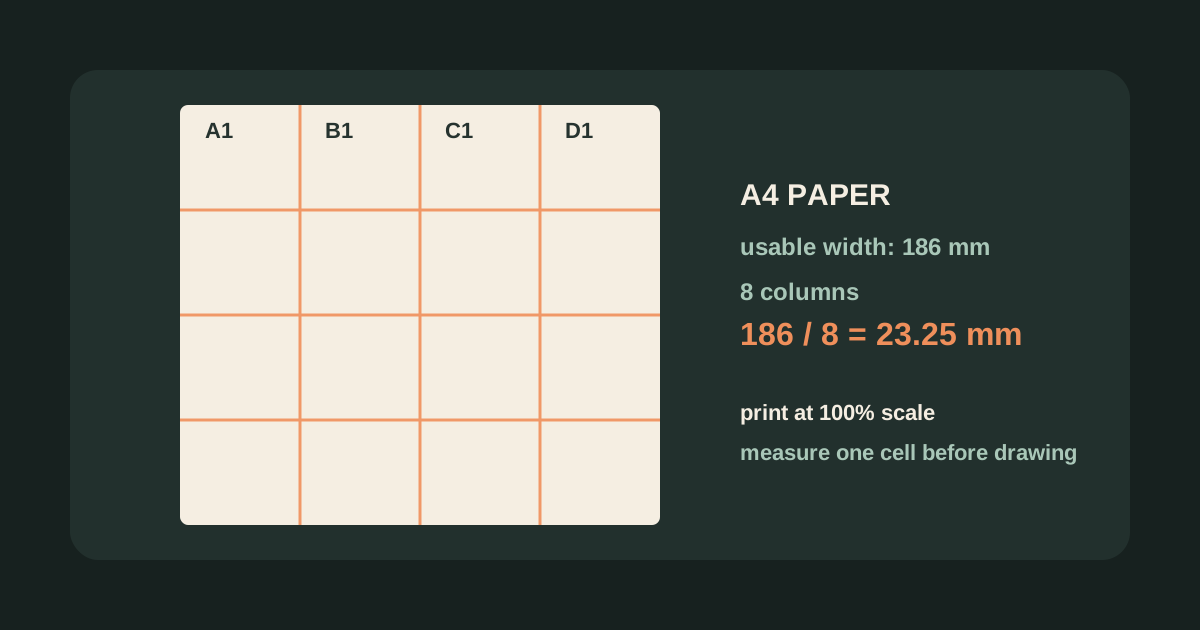
Use the usable width of the paper, not the full sheet width. If an A4 sheet is 210 mm wide and you leave 12 mm margins on both sides, the usable width is:
210 - 12 - 12 = 186 mmWith 8 columns, each printed cell is:
186 / 8 = 23.25 mmThat number is the measurement you should use when drawing the matching grid on paper. If you use the full 210 mm in your calculation but print with margins, every column will be too wide.
Step-by-step printable grid workflow
1. Check the reference ratio
An image that is 4000 x 3000 pixels has a 4:3 ratio. If you force it into an A4 portrait rectangle, the subject will stretch or crop. Keep the reference ratio, or decide exactly where the crop should happen before adding the grid.
2. Choose rows and columns separately
Do not assume a square image needs a square grid. For a landscape reference, 8 columns and 6 rows may fit the composition better. The important rule is that the same number of rows and columns must be used on the drawing surface.
3. Set the paper format
Grid Maker includes A2, A3, A4, A5, Letter, and Legal formats. Select the format closest to the paper you will actually use, then check the displayed cell interval before printing.
4. Print at 100 percent scale
Disable options such as “Fit to page” if the print dialog changes the scale. Print a test page and measure one cell with a ruler. A 23.25 mm target that prints at 21 mm will create a visible error across the whole drawing.
5. Mark the grid before drawing
Use the row and column labels as coordinates. Instead of saying “the eye is near the middle,” record its position as approximately C4, then compare the distance to the cell edges. This makes corrections concrete.
Make the lines easy to erase
For a pencil drawing, use a light gray line with low opacity. Dark lines make the reference easy to read but can make you copy the grid instead of the subject. If the print is only a temporary reference, labels are helpful; if the grid will remain under watercolor, reduce the line weight further.
Related guides
- How to add a grid to a photo online before you print the reference.
- How to choose the right drawing grid size for portraits, landscapes, and still life.
- How to scale artwork using a grid maker when the final surface is larger than the printed reference.
The goal is not to print the most complicated grid. It is to print a measured grid that matches the paper, keeps the image undistorted, and gives you a clear coordinate system while you draw.