
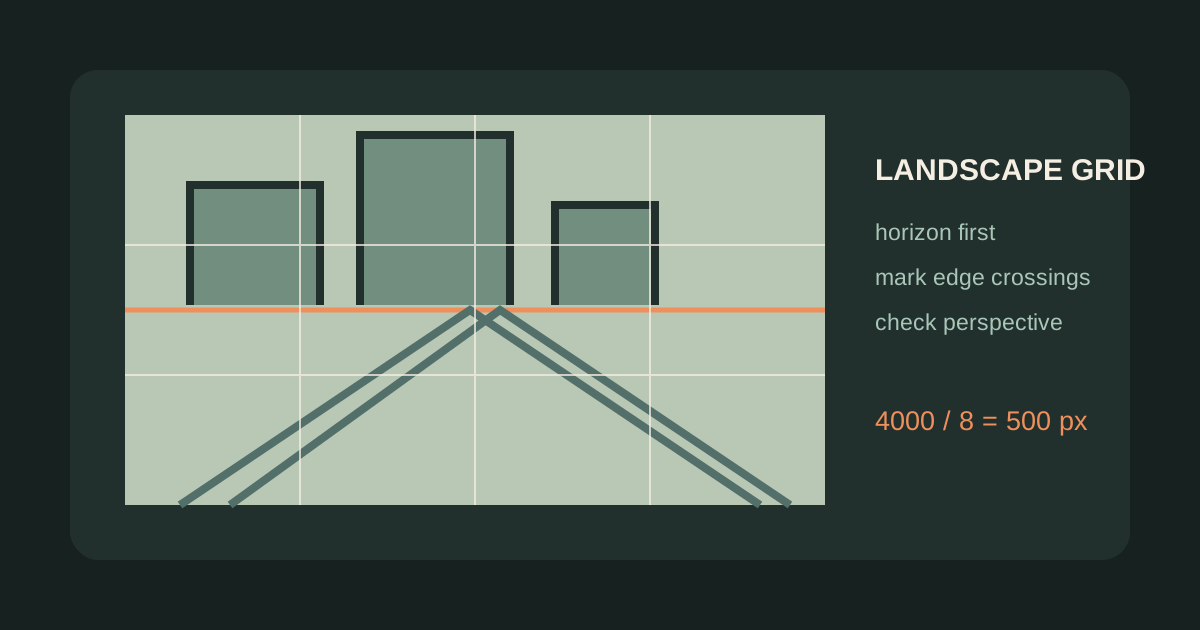
Landscapes and buildings are often easier to draw with a grid, but they expose a specific problem: a grid can help you copy a wrong perspective very accurately. Use the grid to locate visible edges, then separately check the horizon, vanishing direction, and repeated spacing.
Find the horizon before counting cells
The horizon is the first major landmark in a landscape or street scene. Mark where it crosses the reference frame, then note its grid row. If the horizon is near row 3 in a 6-row grid, it should remain near row 3 on the drawing surface even if the physical cells are a different size.
For architecture, also mark the dominant vanishing direction. Window edges, roof lines, and pavement lines should relate to that direction. The grid is a position check; it is not a replacement for perspective construction.
Use a rectangular grid that preserves the frame
Suppose a reference is 4000 x 3000 pixels. An 8-column by 6-row grid produces:
4000 / 8 = 500 pixels per column
3000 / 6 = 500 pixels per row
The cells are square and the 4:3 frame is preserved. If you use 8x8 instead, each row would be 375 pixels and the grid would not describe equal physical squares unless you deliberately change the drawing surface.
Step-by-step landscape grid workflow
1. Simplify the reference
Before adding small branches, bricks, or windows, identify three layers: sky, middle distance, and foreground. A grid helps with locations, but a simple value map helps you decide which shapes deserve attention.
2. Mark the horizon and major boundaries
Record the horizon, roof ridge, road edge, tree line, and the largest shadow boundary. These are the structural lines that should be checked before texture.
3. Copy where lines cross cell borders
Instead of tracing every line continuously, mark its entry and exit points on each cell. Connect those points lightly. This reduces the tendency to make a roof or road “look straight” when the reference actually angles away.
4. Check repeated features
Windows, fence posts, and paving stones create useful measuring rhythms. Compare their spacing across cells. If the first three windows fit but the fourth drifts, check the reference crop and horizon before adding more detail.
5. Use grayscale for depth
A grayscale version makes it easier to separate a dark foreground from a lighter distance. Work from large value masses to small accents. The most accurate window placement cannot rescue a scene with a flat value structure.
A useful accuracy check
Turn the drawing upside down or mirror the reference briefly. Familiar objects stop distracting you, making large angle and spacing errors easier to see. You can also cover the grid after the construction pass and compare only the silhouette and negative space.
When to use more rows
Add rows when vertical relationships are hard to locate: a tall building, a cliff, or a figure in a landscape. Add columns when horizontal placement is the problem: a long road, a row of windows, or a bridge. More cells in both directions are not automatically better.
Related guides
- Choose the right drawing grid size for horizontal scenes.
- Add a grid to a photo online before preparing the reference.
- Scale artwork with a grid when the final building or mural is larger than the source.
Use the grid to measure where the scene is, and use perspective checks to understand why the lines point the way they do. You need both for a convincing landscape or architectural drawing.