
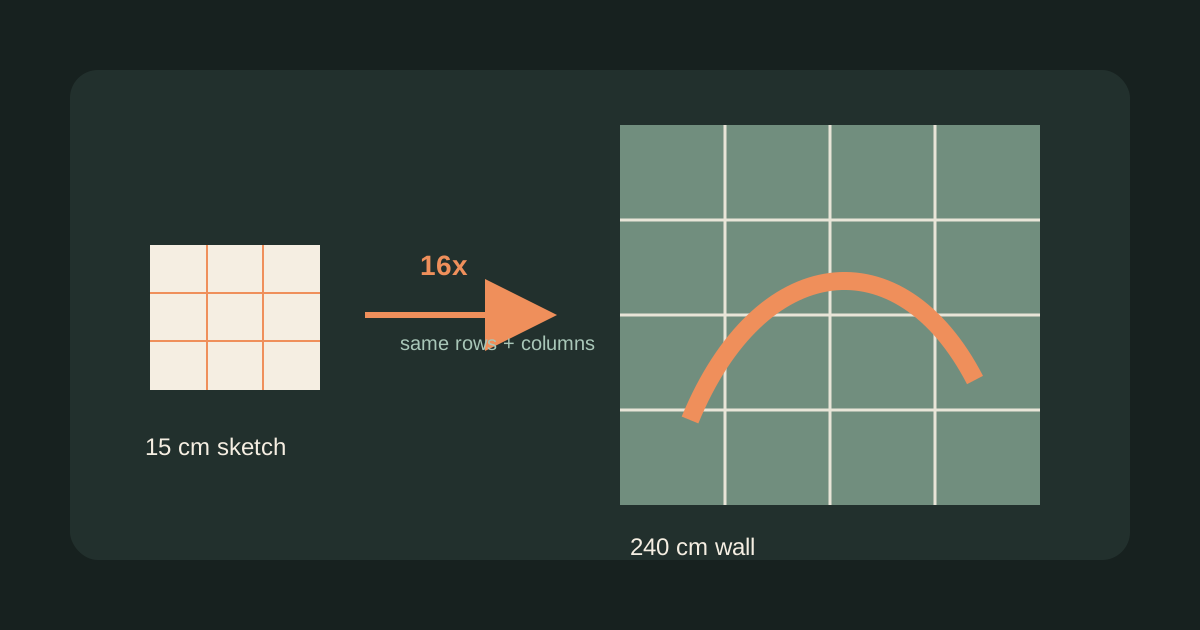
The grid method is one of the safest ways to transfer a small drawing to a large wall. It does not require every line to be measured from scratch. You measure the same landmarks inside corresponding cells, while the grid handles the scale.
Start with the final wall, not the sketch
Measure the usable wall area after accounting for trim, doors, furniture, and any border you want to leave. A sketch can be cropped later, but a wall cannot be made wider once the first line is painted.
For example, imagine a sketch area that is 15 cm wide and a wall area that is 240 cm wide:
240 / 15 = 16The enlargement ratio is 16:1. If the reference grid has 10 columns, every wall cell is:
240 / 10 = 24 cmThe reference cell is 1.5 cm wide. You do not need to copy every reference measurement; you need the same 10 columns and a 24 cm wall cell.
A reliable mural transfer sequence
1. Photograph or scan the sketch square-on
Perspective distortion in the photo becomes perspective distortion in the mural. Place the sketch flat, keep the camera parallel to it, and crop away unrelated background before adding the grid.
2. Choose a cell count that matches the wall
Use fewer cells for a bold graphic mural and more cells where the design has faces, lettering, or irregular architecture. A 10x10 grid is a starting point, not a rule. If one wall cell is too large to locate a key feature, increase the density before transferring.
3. Mark the wall grid lightly
Use a level, tape measure, and a chalk line. Check the first vertical and horizontal lines against the wall edges, then check the diagonals or a few repeated intervals. A small error in the first line repeats across every column.
4. Transfer large shapes first
In each cell, mark the outer contour, major color blocks, and important intersections. Do not start with eyelashes, bricks, or texture. The mural should still read correctly when you step back several meters.
5. Check landmarks across cell boundaries
Eyes, corners, lettering, and horizon lines often cross grid boundaries. Compare their distance to the left and top edges of the cell, then compare the same distance on the wall cell. This catches drift before paint makes it expensive to fix.
6. Remove the grid in sections
Paint one section, allow it to dry enough to protect the marks, and erase or cover the grid before moving on. Keeping every line visible until the end can make the final image look mechanically segmented.
Keep the ratio honest
If the wall is not the same aspect ratio as the sketch, choose one of three options: crop the sketch, extend the background, or accept that the final composition will have different margins. Never stretch the subject just to fill the wall.
What Grid Maker does before you reach the wall
Use Grid Maker to overlay the reference, set the same rows and columns you plan to mark on the wall, and switch to grayscale when value blocks are more important than color. The exported reference gives you a clean coordinate map before you climb a ladder with a pencil.
Related guides
- Scale artwork with the grid method for the ratio basics.
- Create a printable drawing grid when the sketch needs a paper reference.
- Choose the right grid size before committing to wall measurements.
The grid is not the mural. It is a temporary measurement system that lets you make large, irreversible marks only after the proportions have been checked.